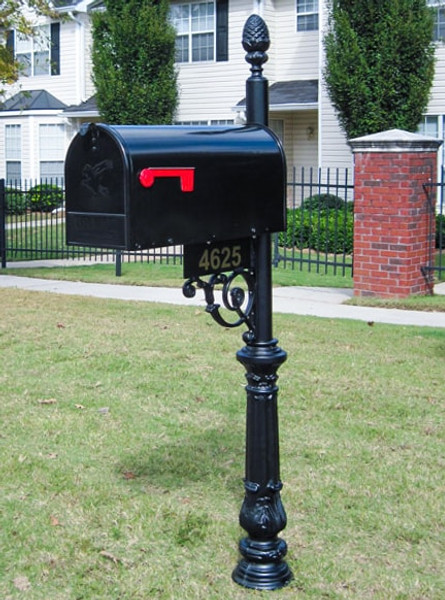
We Ship, You Install…Mailbox Installation Instructions
Apr 26th 2022
So you don’t live in Atlanta, but you love the Williamsburg Estate mailbox system? Don’t worry we’ll ship it to you and you can assemble and install the mailbox without much effort. Or, you can hire someone to quickly install it for you. We’ve redesigned this system for easier assembly and installations. Here are some step-by-step instructions just for you:
Tools and Supplies Needed:
Shovel, Post Hole Digger, Water, 60 lb. Bag of Quikcrete, Measuring Tape, Tarp / Old Sheet, Level
Follow these steps:
1. After building the mailbox and post system remove the existing mailbox. Begin by working the mailbox from side to side and then front to back to loosen the dirt around the post. You may have to dig around the post using a shovel. Pull the mailbox out of the hole and set it aside. Now, you are ready to begin digging a holt for your new mailbox.
2. Choose the location of your new mailbox. Usually, you will want to install the new mailbox in the same location as the old mailbox. If you want to move the mailbox, please keep in mind that postal regulations require that the front of the mailbox be located 4 to 8 inches from the curb / street.
3. Determine the required depth of the hole for your new mailbox by calculating the amount of post that will be buried. For most of our systems, we recommend burying 24 inches of the pole into the ground. When installed the height of your mailbox should be 41 to 45 inches from the street to the bottom of the mailbox to meet postal regulations.
4. Begin digging a round shaped hole for your new mailbox using a shovel or post hole digger. We recommend laying a tarp or sheet on the ground that can be used to collect the dirt. This will make clean up time much easier. The diameter of the hole should be approximately 10-12 inches.
5. When the new hole is completed, insert the new mailbox and post into the hole so that it is centered. Confirm that the height of the mailbox door will still be between 41-45 inches from street level.
6. Begin pouring dry concrete mix into the hole making sure to equally distribute it around the post. After pouring about 1/3 of the concrete into the hole apply the level to the post and adjust accordingly so it is level in all directions. Use a stick to poke the concrete mix so that all air pockets are filled. Apply another 1/3 of mix into the whole and repeat leveling, adjusting, and poking procedures. At this time, add in a small amount of water (approximately 5 cups). The concrete will absorb moisture from the ground and fully cure, but adding a little water speeds up the process. Apply concrete until it is about 5 inches below ground level. Repeat leveling, adjusting, and poking procedures. Add another 5 cups of water to the mix in the hole and allow it to soak into the mix.
7. Fill the hole to ground level using the dirt from digging the hole. The concrete will begin setting within an hour and will completely cure in a few days.

